Essential Software and Workflow
- Choose Your Tools — Adobe Lightroom Classic or Photoshop for comprehensive editing; free options like Darktable (Lightroom alternative) or GIMP (Photoshop alternative). Affinity Photo is a one-time purchase alternative.
- Import RAW Files — Always edit from RAW captures to retain maximum data. Import into your software and organize by date or location for efficiency.
- Non-Destructive Editing — Use adjustment layers or virtual copies to experiment without altering originals. This allows easy reversion and comparison.
- Calibration First — Apply lens profile corrections to fix distortion, vignetting, and chromatic aberration common in wide-angle night shots.
Educational Tip: RAW files contain unprocessed sensor data, giving 12–14 bits per channel vs. 8-bit JPEGs, allowing recovery of 4–5 stops of dynamic range.
Basic Adjustments
- Exposure and Contrast — Increase exposure +0.5 to +1.5 stops to brighten aurora without clipping highlights. Boost contrast 20–40 to add punch, but avoid crushing shadows.
- Highlights and Shadows — Pull highlights down -20 to -50 to recover bright aurora edges; lift shadows +30 to +60 to reveal foreground details like snow or trees.
- White Balance — Set temperature to 3500–4500K for natural aurora colors (cooler for greens, warmer for purples). Tint +5 to +15 to counter green casts from light pollution.
- Clarity and Texture — Add +10 to +20 clarity for structure in aurora curtains; use texture +15 for fine details without haloing.
- Histogram Check — Ensure no clipping on left (underexposed blacks) or right (blown highlights). Aim for a balanced spread.
Educational Tip: Aurora photos often underexpose in-camera to preserve colors; post-processing recovers this data, but overdoing adjustments introduces artifacts.
Noise Reduction Techniques
- Luminance Noise — Apply 20–40 in Lightroom's Detail panel for high-ISO grain; mask to protect sharp edges like stars or aurora rays.
- Color Noise — Set to 25–50 to remove chromatic speckles; higher for ISO 3200+ shots, but monitor for desaturation.
- AI Denoising — Use tools like Lightroom's Denoise AI or Topaz DeNoise for superior results on noisy night skies, preserving star trails.
- Stacking for Noise — In Photoshop, align and stack 5–10 similar exposures (Layer > Smart Objects > Stack Mode > Median) to average out noise.
- Selective Application — Use brushes or gradients to apply noise reduction only to dark areas, leaving aurora vibrant.
Educational Tip: Noise increases with ISO and heat; stacking reduces it by sqrt(n) where n is exposures, e.g., 4 shots halve noise.
Color Enhancement and Curves
- Vibrance and Saturation — Boost vibrance +20 to +40 for subtle color pop; saturation +10 max to avoid unnatural hues.
- HSL Panel — Target greens: +10 saturation, +5 luminance; purples/magentas: +15 saturation for rare red auroras. Desaturate oranges if light pollution present.
- Curves Adjustment — Create an S-curve for contrast: slight lift in shadows, dip in mids, lift in highlights. Add points for targeted aurora brightness.
- Selective Color — In Photoshop, adjust specific channels (e.g., cyan for greens) to enhance aurora without affecting stars.
- Color Grading — Use split toning: shadows teal (-10 hue), highlights warm (+5 hue) for cinematic feel.
Educational Tip: Aurora colors stem from excited oxygen (green/red) and nitrogen (purple/blue); enhance realistically to match eye perception, as cameras capture more than visible.
Advanced Techniques
- Compositing — Blend foreground (short exposure for sharpness) with sky (long for aurora) using layer masks in Photoshop.
- Star Trail Reduction — If shutter >10s, use StarStax or Photoshop's minimum blend to sharpen stars against moving aurora.
- Panorama Stitching — Merge wide scenes in Lightroom/PTGui for epic 180° auroras; correct for distortion.
- Time-Lapse Editing — Batch process sequences in Lightroom, then export to Premiere/After Effects for smooth videos.
- Sharpening Last — Apply output sharpening (amount 25–50, radius 1.0) after resizing; use high-pass filter for edges.
Educational Tip: Compositing ethically maintains authenticity; disclose heavy edits. Advanced tools like luminosity masks target brightness zones precisely.
Common Mistakes and Best Practices
- Avoid Over-Editing — Excessive saturation leads to banding; always compare to original.
- Monitor Calibration — Use a calibrated display for accurate colors; print tests for validation.
- Export Settings — For web: JPEG 80 quality, sRGB; print: TIFF, AdobeRGB, 300dpi.
- Backup Workflow — Save edits as catalogs; version control with snapshots.
- Mid-Latitude Edits — In Germany/Europe, boost faint auroras carefully; reduce urban light pollution with dehaze (-10 to -20).
Educational Tip: Post-processing amplifies what's captured; great edits start with strong in-camera technique. Experiment iteratively.
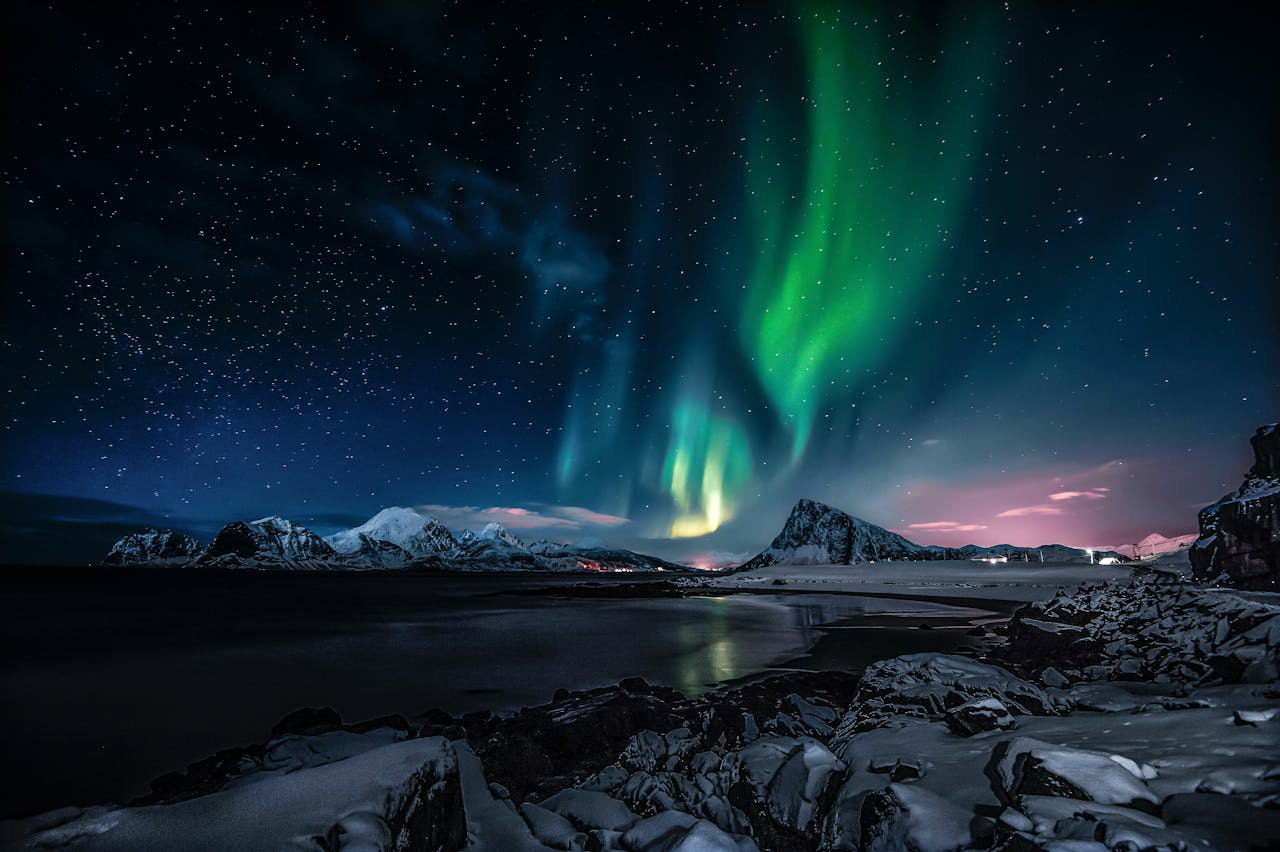
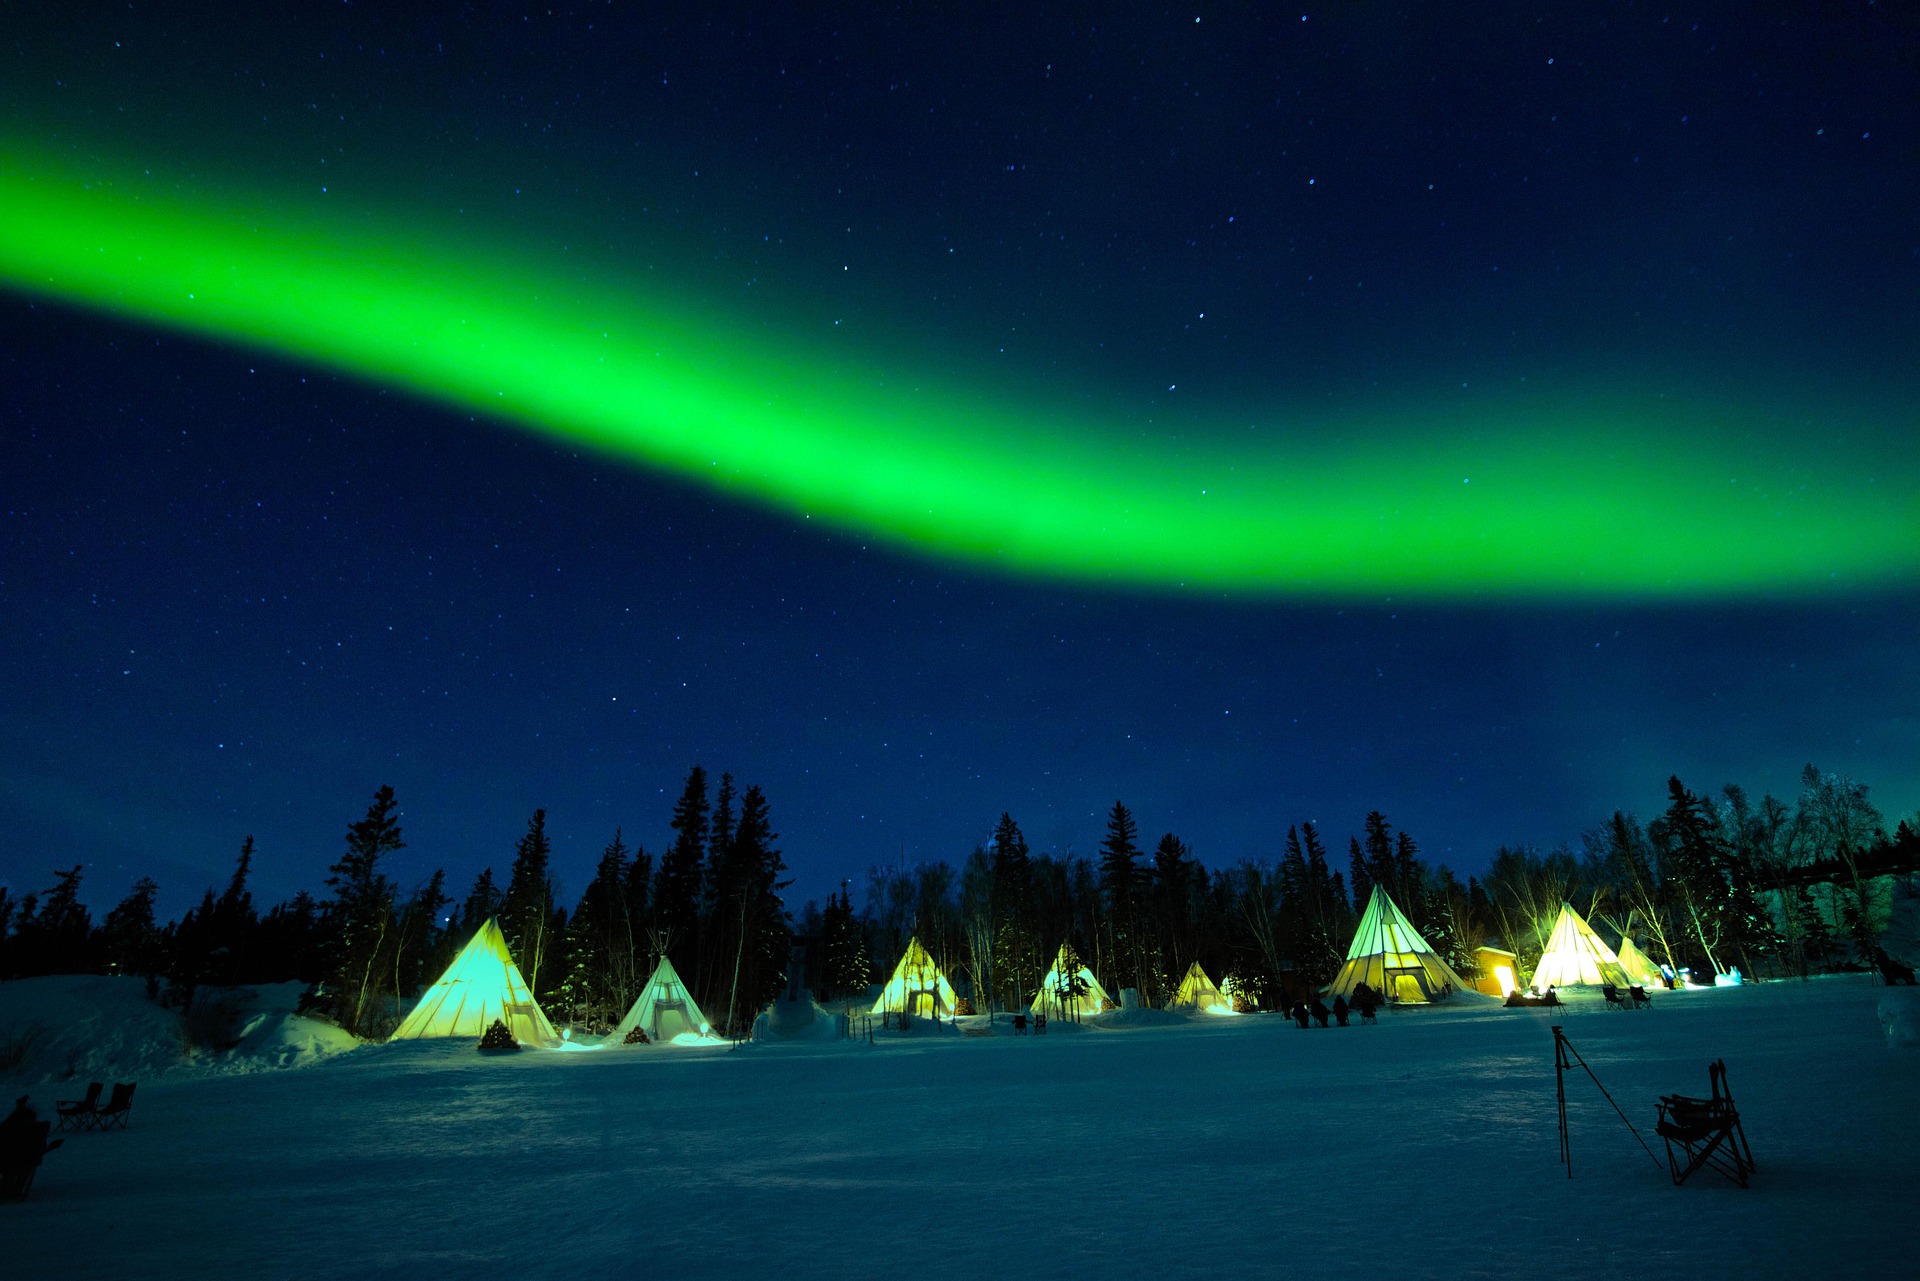
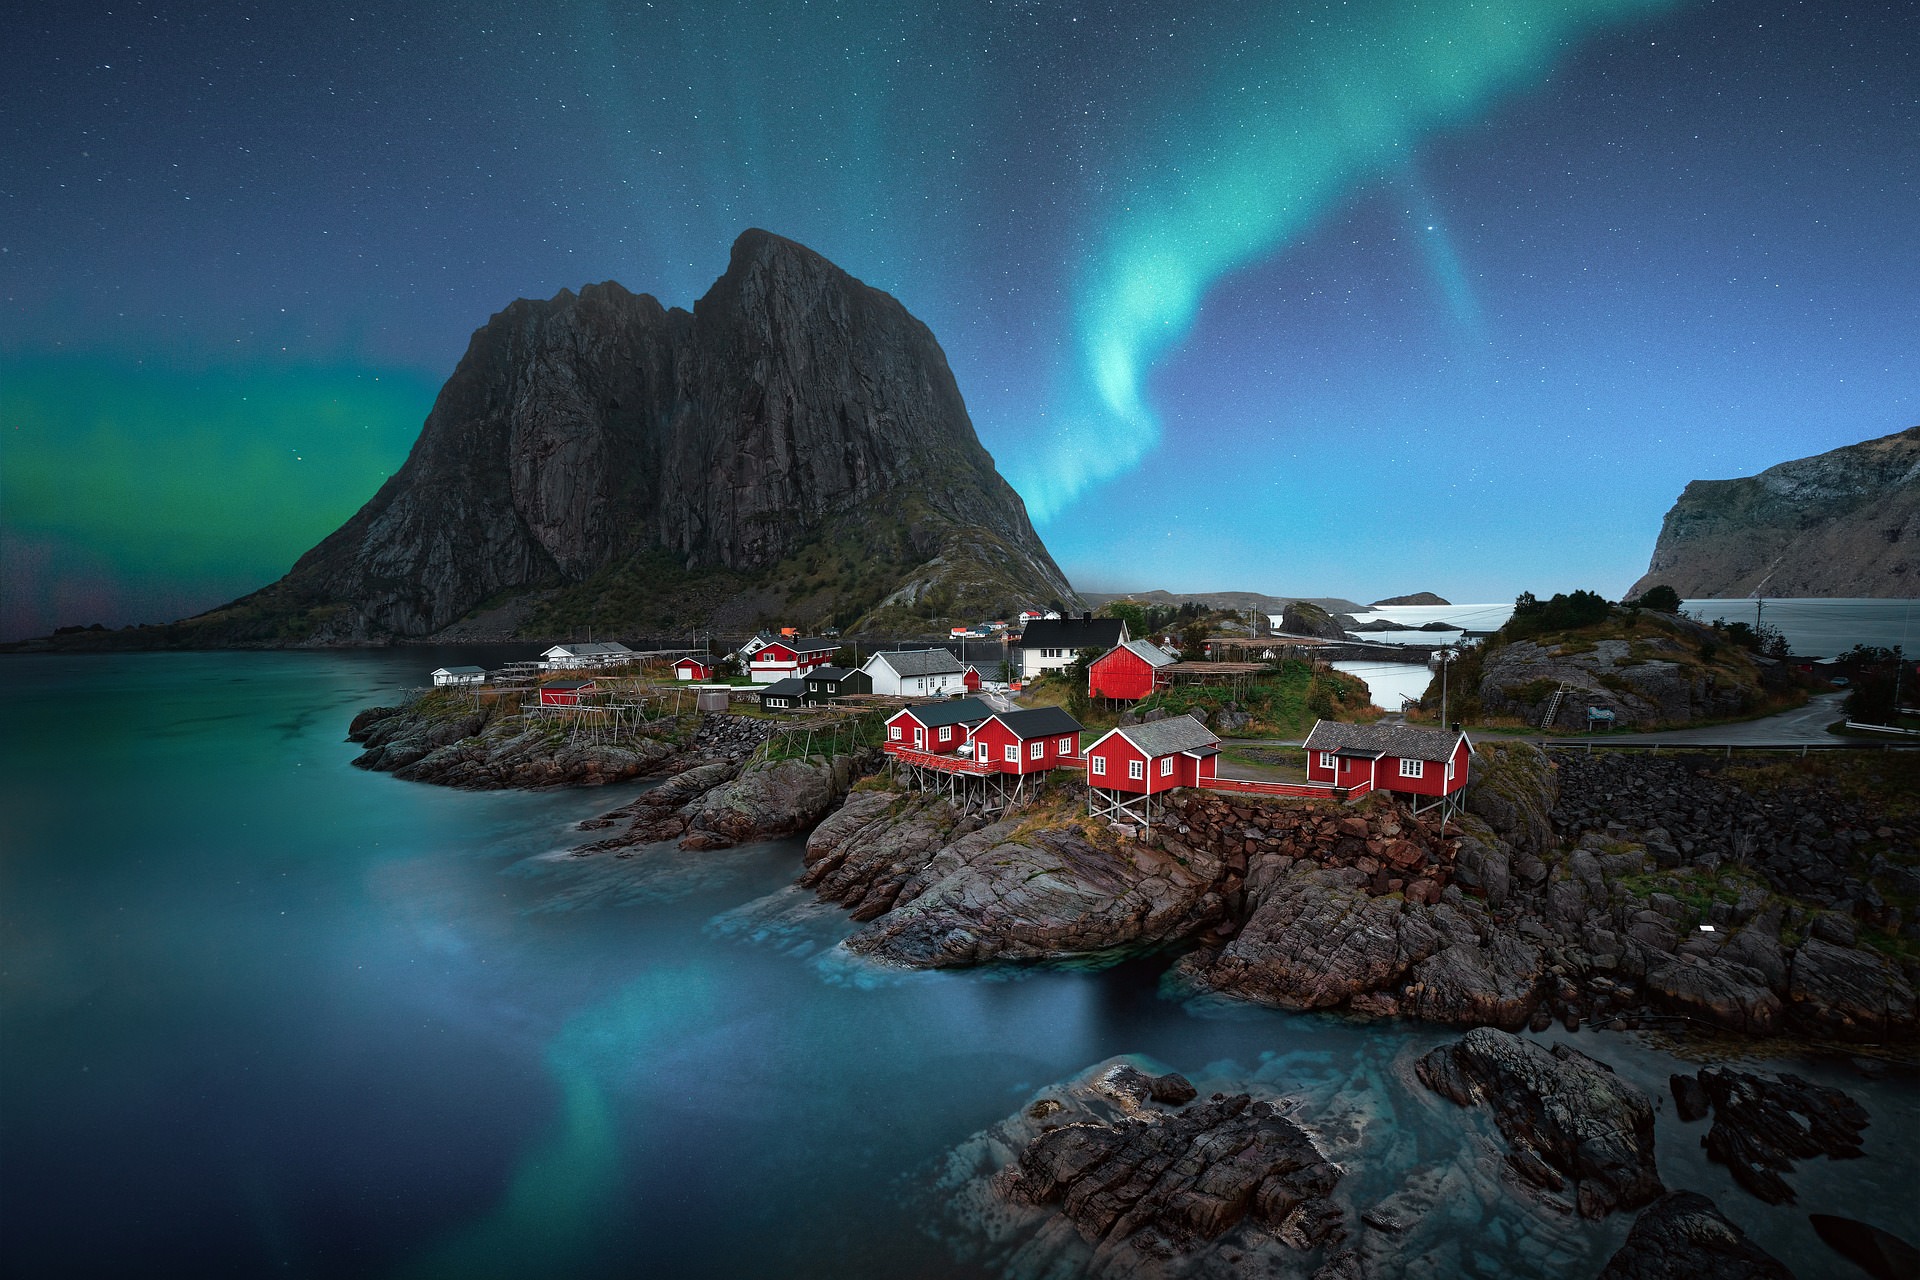
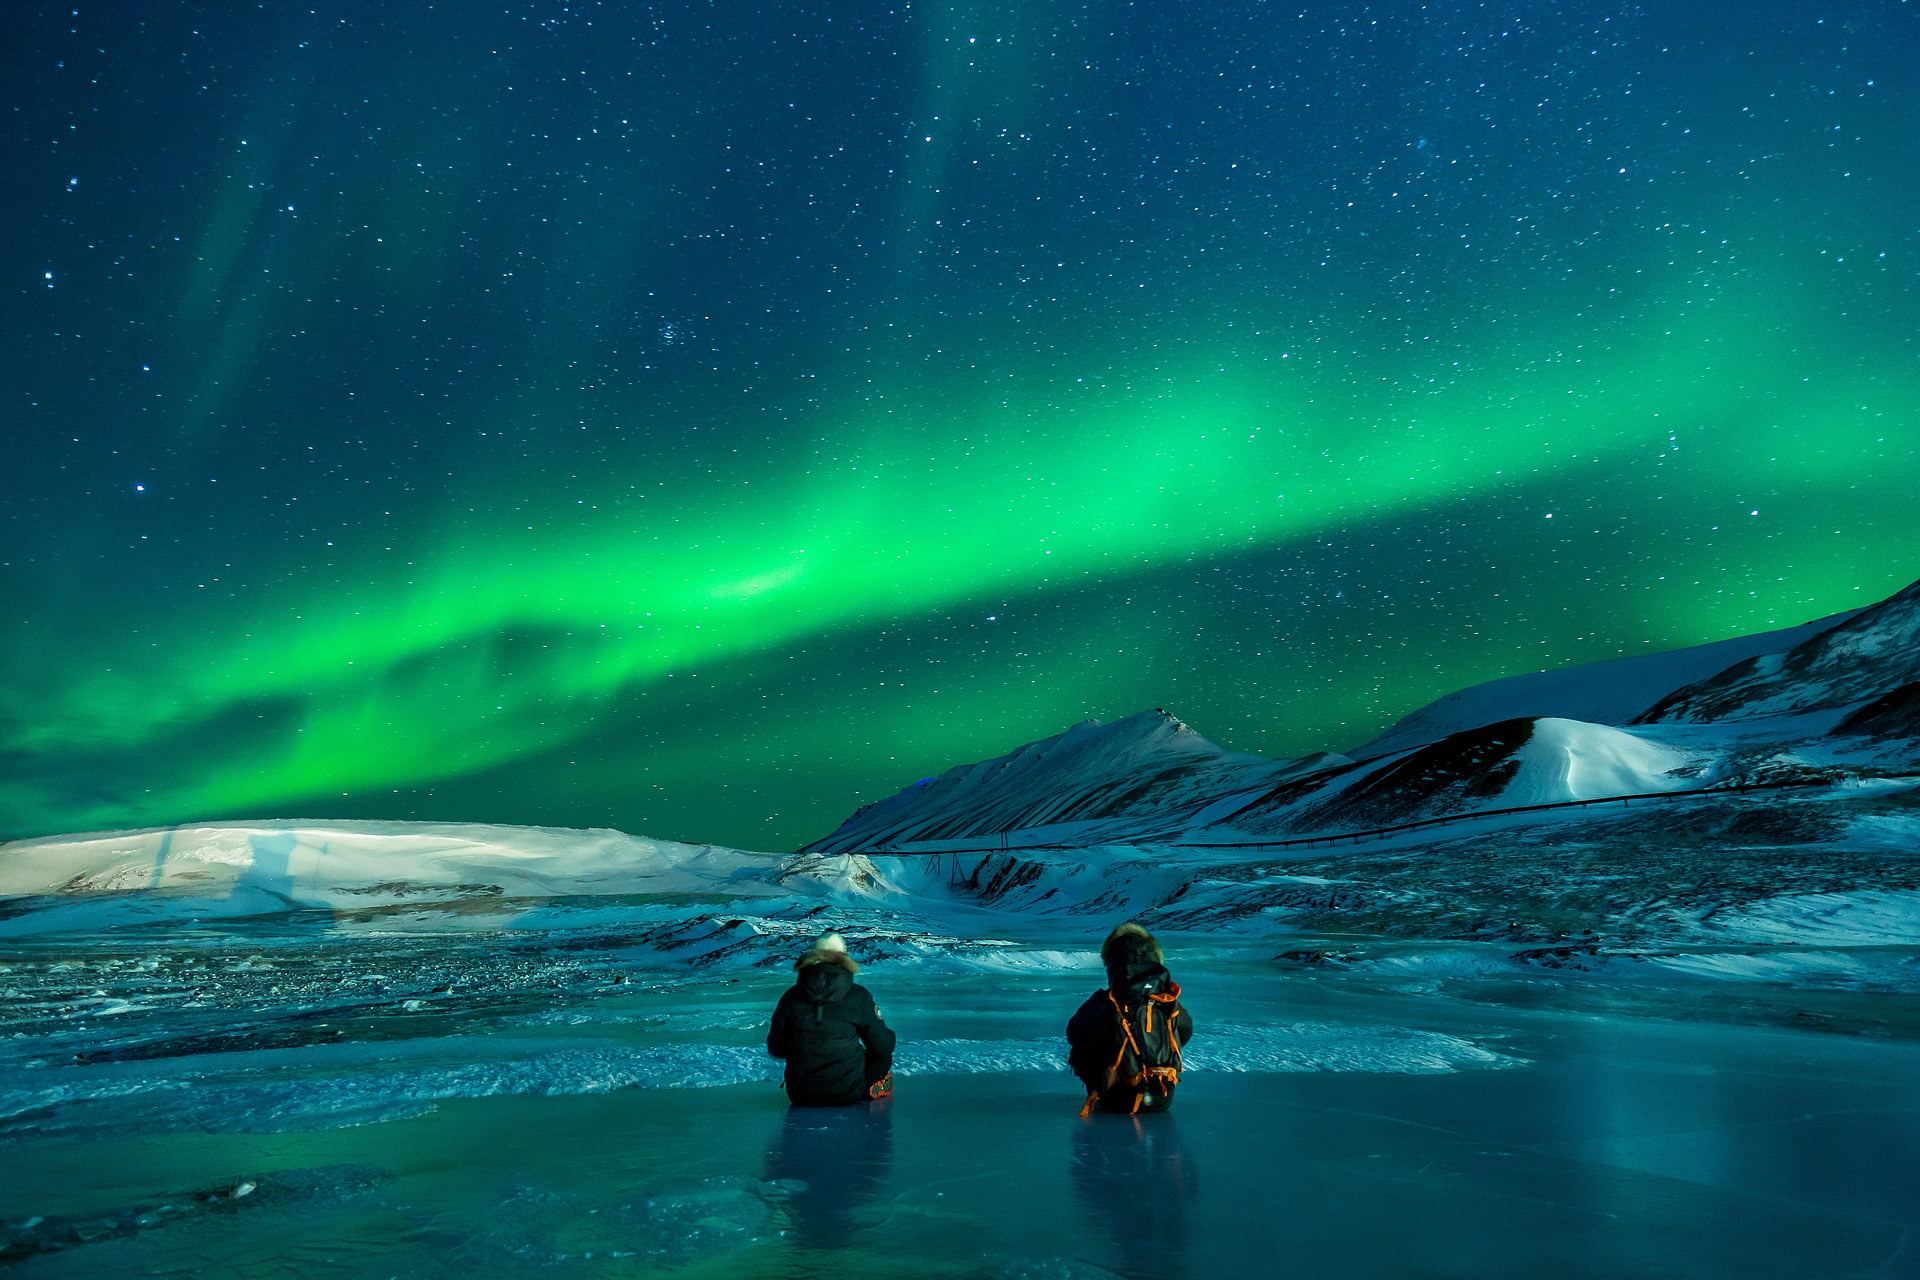
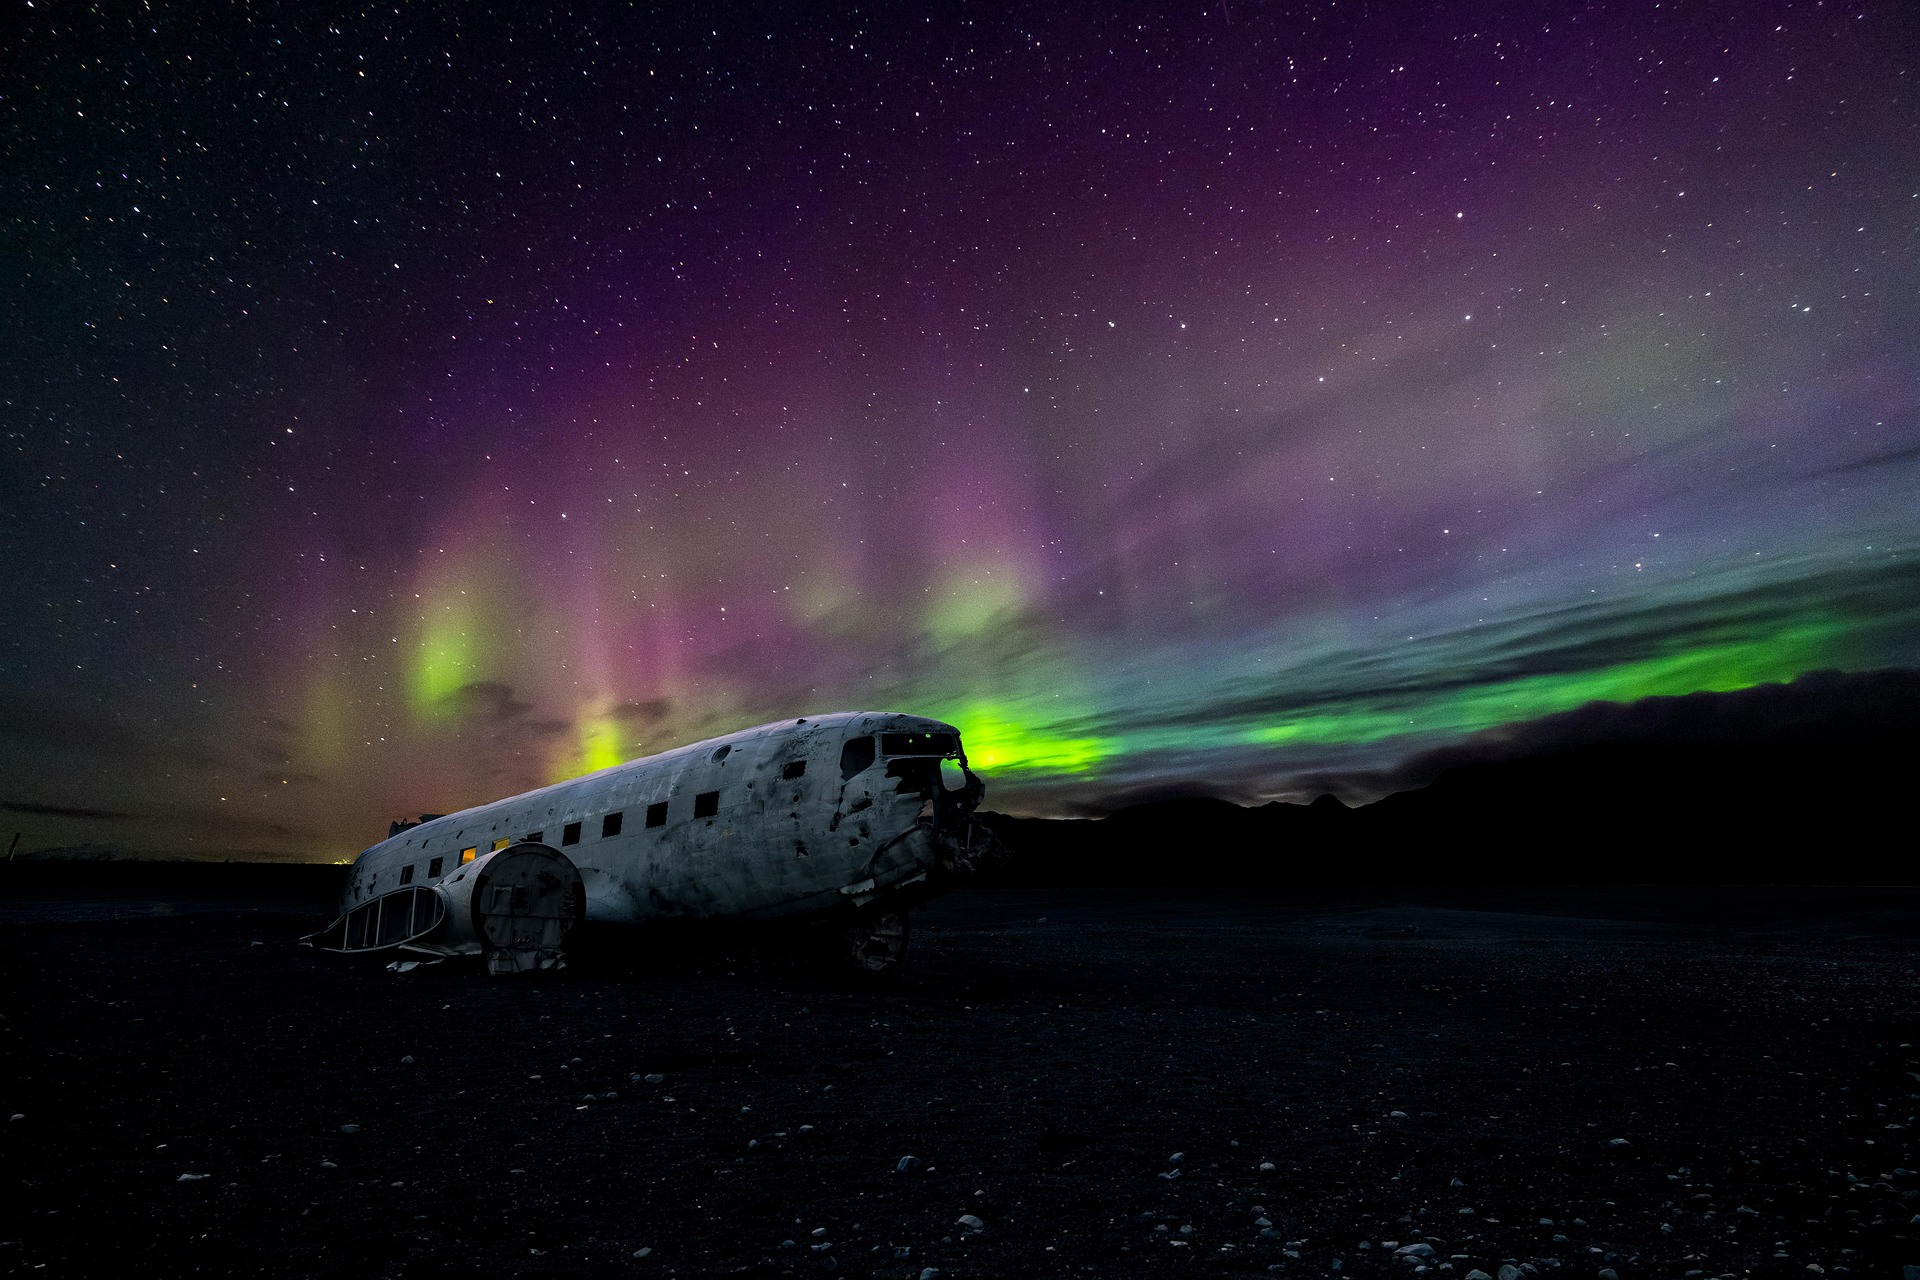
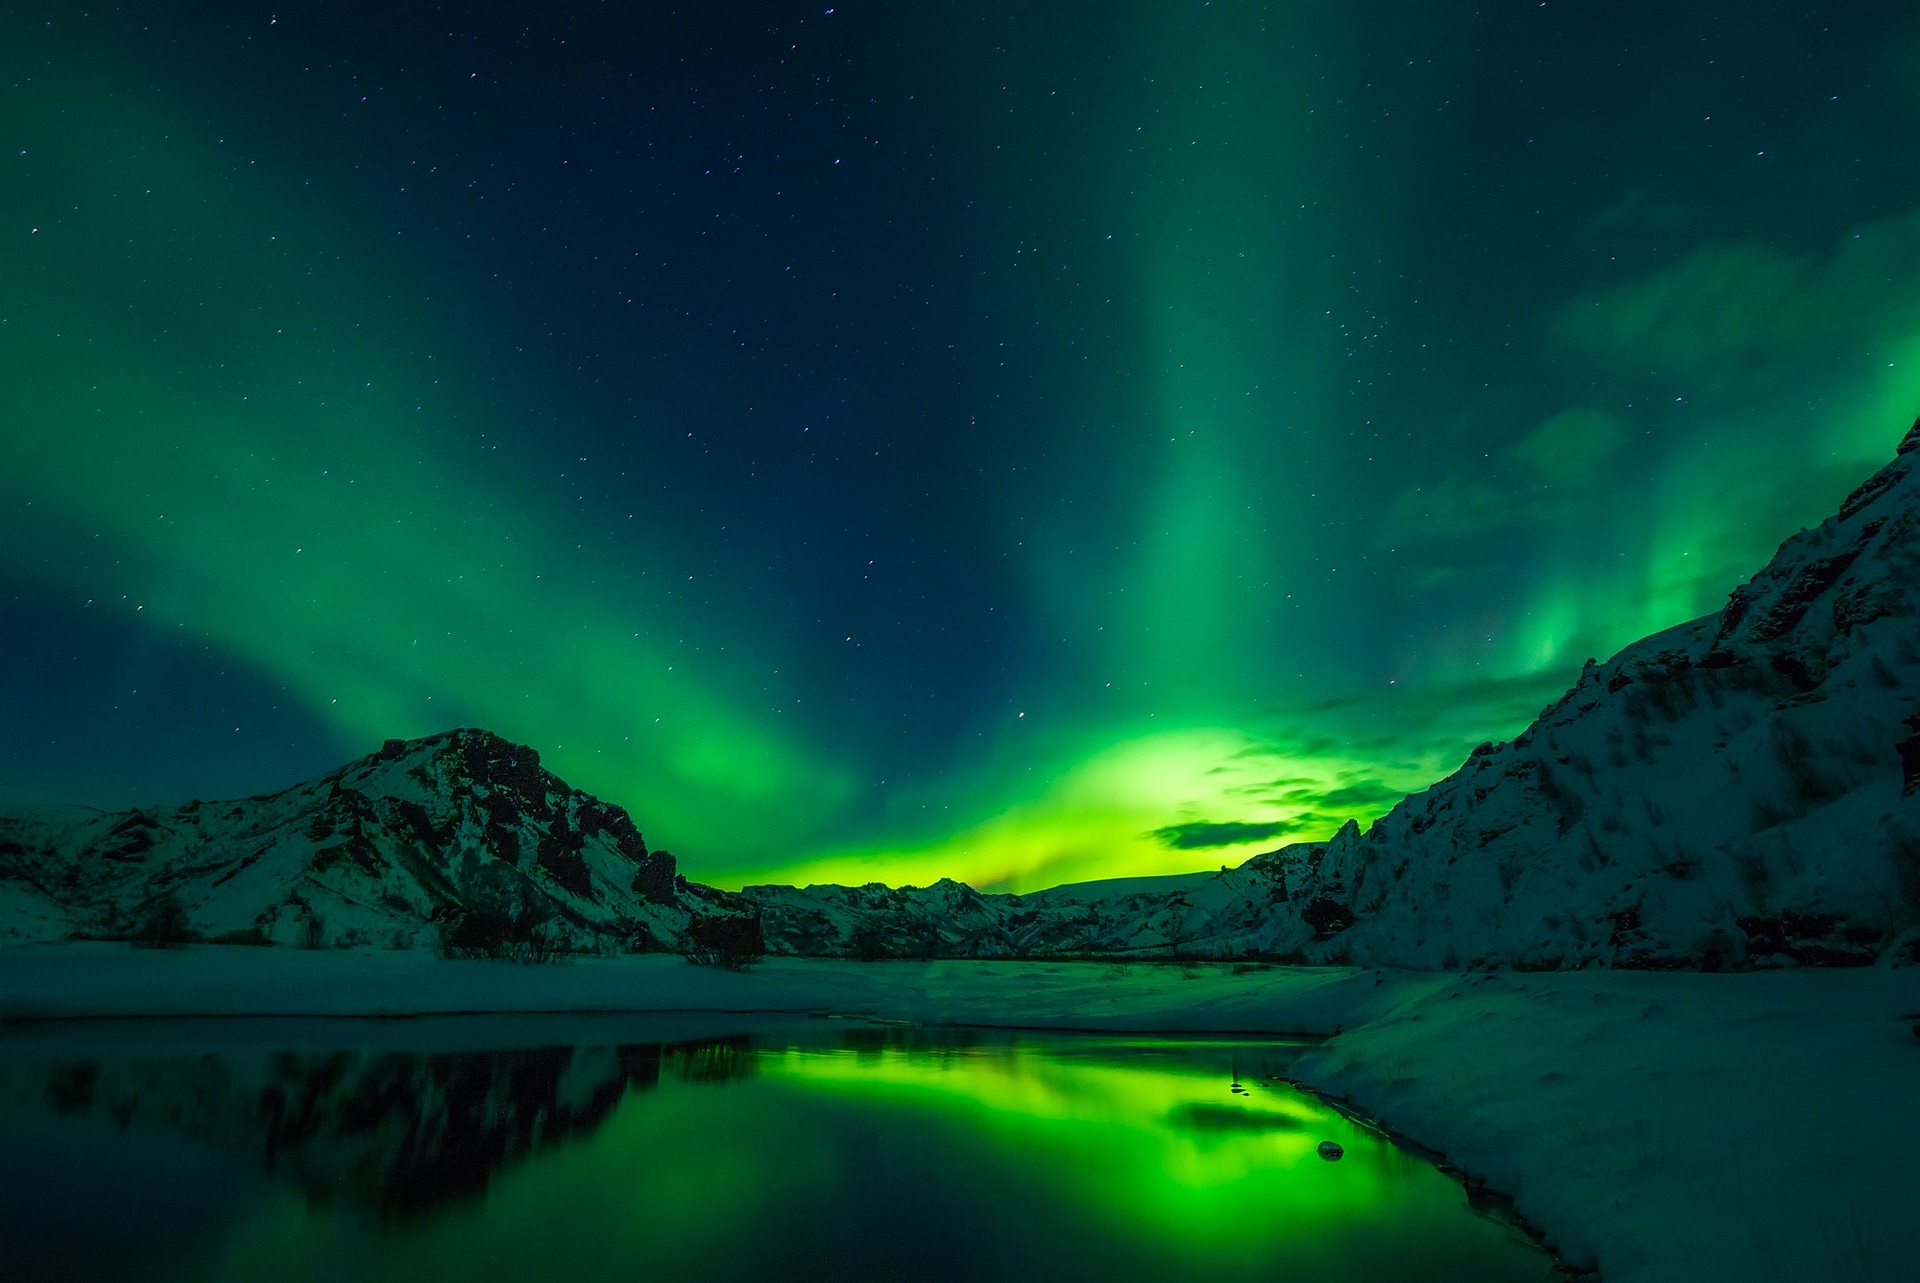
Apply these techniques to your aurora shots using our live Kp/Bz data for planning. Iteration and practice yield professional results. Share your edits on Instagram @auroramap.de! 🌌
more helpful links
Explore advanced tutorials on aurora editing from experts. Adobe Aurora Editing Guide